
Cricket Helmet Buying Checklist: Safety Standards, Fit and Visibility
Most cricket kit you buy with your hands and your eyes. A helmet is different. You buy it with a tape measure, a mirror and a few honest minutes thinking about how you actually bat, keep or field close in. Get the fit right and you will forget it is there. Get it wrong and you will spend every innings tilting it, tugging it, or quietly leaving it in the bag.
Work through the following before you hand over any money.
Start With the Standard, Not the Price Tag
The first thing to find is the certification mark, and it is usually tucked inside the shell or on the grille itself. Cricket helmets are commonly tested to BS7928, which covers both the head protector and the face guard. Different levels of that standard are written for different levels of the game, so a helmet intended for junior or recreational cricket is not automatically the right choice for facing a hard ball at higher pace.
Look for a marking in the shell and a matching marking on the grille. If the grille is unbranded, or the two do not correspond, ask the retailer why before you go any further.
Check your competition rules as well. Plenty of leagues, schools and club programmes require helmets for junior batters, for anyone facing pace, and for wicketkeepers standing up to the stumps, and some name a specific standard. Better to know that in the shop than in the changing room.
Second-hand helmets are only worth considering if you know their history. A shell that has taken a serious knock can look flawless and still be compromised. If nobody can tell you what it has been through, walk away.
Fit: The Roll Test and Three Contact Points
Measure your head circumference with a soft tape, level and just above the ears. Treat that number as a starting point only, because shells differ in shape between brands. A medium in one make can feel like a large in another.
The three points that must touch
- Forehead: the front padding should sit against your forehead with the shell level, roughly a brow's width above your eyebrows.
- Crown: the top of your head should meet padding, not air. If you can press the helmet down noticeably before it stops, it is too big.
- Back: the rear padding should hold the base of your skull so the helmet cannot tip forward.
Then do the roll test. Fasten the chinstrap so it is snug but not choking, and try to push the helmet forward off your head with the heel of your hand. If it rolls down over your eyes, it is too loose or the wrong internal shape for you. If it leaves a red line across your forehead within a few minutes, it is too tight, or again, the wrong shape.
Your cheek pads should press against your face without clamping your jaw shut. You need to be able to shout "yes" and "no" clearly, and hear a call from mid-off.
Grille Clearance: The Gap That Decides Everything
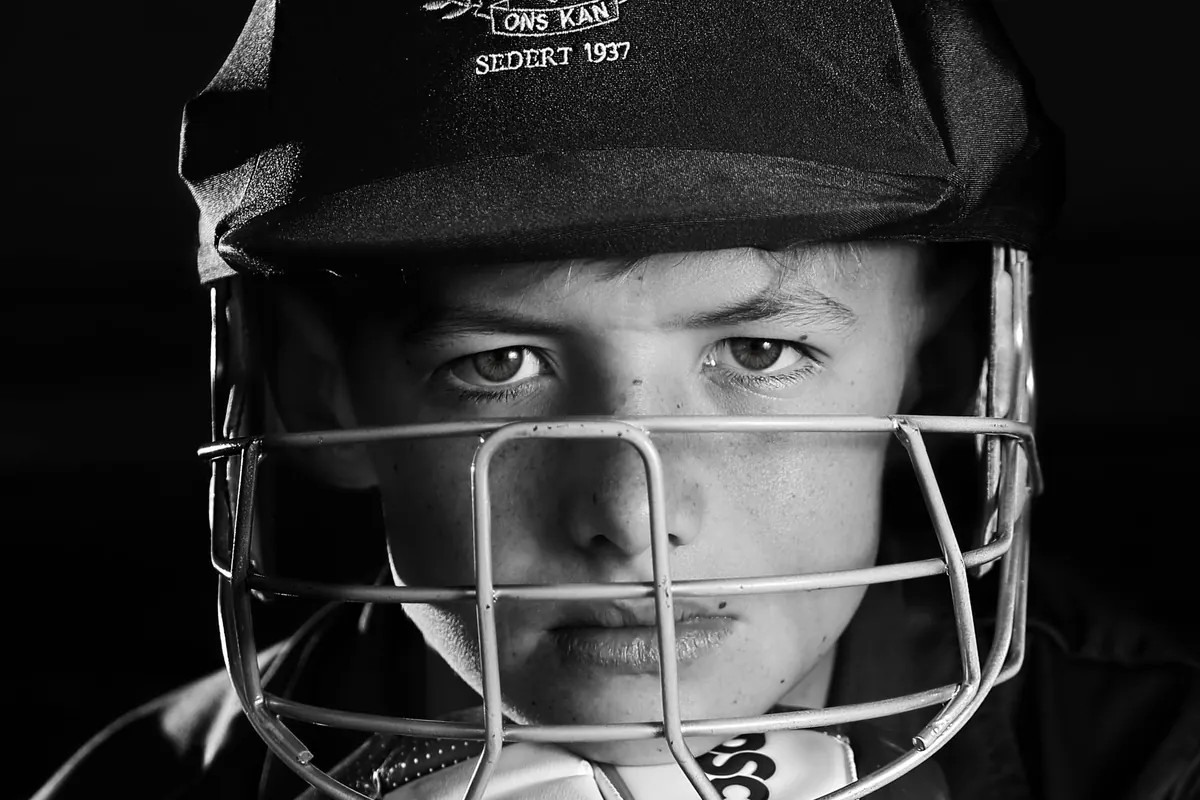
With the helmet on and the strap done up, look straight ahead. The grille should sit clear of your nose and should not touch your face anywhere. Now tilt your chin down, as you would for a ball at your toes, then up for a bouncer. Nothing should jab you, and nothing should move far enough away to leave an obvious opening.
Pay attention to the gap between the top of the grille and the front edge of the shell. It should be too small for a ball to pass through. The standard covers this, but it is worth confirming on your own head, in your own size.
Count what is in front of your eyes, too. Horizontal bars sitting at eye level shrink your window on the ball, while vertical bars nearer the centre tend to be less obstructive for most players. Ask someone to hold a ball at your feet, at chest height and above your head. If you have to tilt your head to track a ball at your toes, the peak is too long or the fit is wrong.
Comfort Over Three Hours, Not Three Minutes
Weight matters less than balance. A light helmet that sits high on the head can feel far worse after two hours than a slightly heavier one that sits low and level. Wear it in the shop for ten minutes if they will let you, and pay attention to the back of your neck rather than the top of your head.
Ventilation holes and channels make a real difference on a hot afternoon. So do removable, washable liners, which are worth looking for on hygiene grounds alone. Remember that fresh padding is at its thickest; if a helmet is borderline tight brand new, it will loosen slightly but not by a size.
If you keep wicket, look at a purpose-built keeping helmet rather than a batting one. The grille shape and rear coverage differ, and the strap position is designed for the crouch. If you wear glasses, check the arms slide under the padding without pressure, and ask about anti-fog treatment.
Visibility: Peak, Colour and Sweat
Peak length is a trade-off. A longer peak shields your eyes from low sun and floodlights. A shorter one gives you a clearer view of a ball dropping at your feet. There is no single right answer, which is why you should try both shapes facing a ball rather than a wall.
Colour affects heat and glare more than safety. Dark shells soak up sun; light ones show scuff marks and reflect light. Thinner bars generally let more light through, though they usually cost more.
The biggest visibility problem is rarely the helmet. It is sweat running into your eyes at the wrong moment, so a moisture-wicking headband or cap under the shell is money well spent.
A Pre-Purchase Checklist
- Find the standard marking inside the shell and on the grille.
- Measure your head and try at least two brands in your size.
- Check the three contact points, then do the roll test with the strap fastened.
- Confirm grille clearance with your chin up and down, and check the top gap.
- Test your sightlines with a real ball at three heights.
- Wear it for ten minutes and check neck fatigue and airflow.
- Ask about replacement liners, grille and chinstrap availability.
- Keep the receipt and note the purchase date.
After You Buy: Care and Common Sense
Store the helmet out of direct sun and away from heat, which means not in a car boot through summer. Inspect the shell each season for cracks, deep dents or a chalky, glazed finish, and check the straps and padding for compression. Padding flattens over time, and a helmet that once fitted perfectly can quietly become loose.
Any significant impact retires the helmet, even if it looks untouched. Shells and liners are built to absorb energy once, and a ball that cracks the grille or catches the shell squarely is enough. If you take a blow to the head and feel unwell afterwards, stop playing and seek medical advice rather than pushing on. No helmet removes risk entirely; the goal is to reduce it and to wear the thing properly, every single time you walk out.
Photo: Patrick Case / Pexels